
A quick shop update. Last time we showed you the printed winglet components ↗ for the CBR1000 race bike, sitting on the bench waiting for glue-up. Well - they're glued.
The kit on the bench
Everything you need for the assembly, laid out in one photo: printed winglet sections, the water jet cut aluminium flanges that mount them to the fairing, and our adhesive for this job - Loctite EA E-20HP, a two-component toughened epoxy straight from the cartridge gun.
Why this epoxy
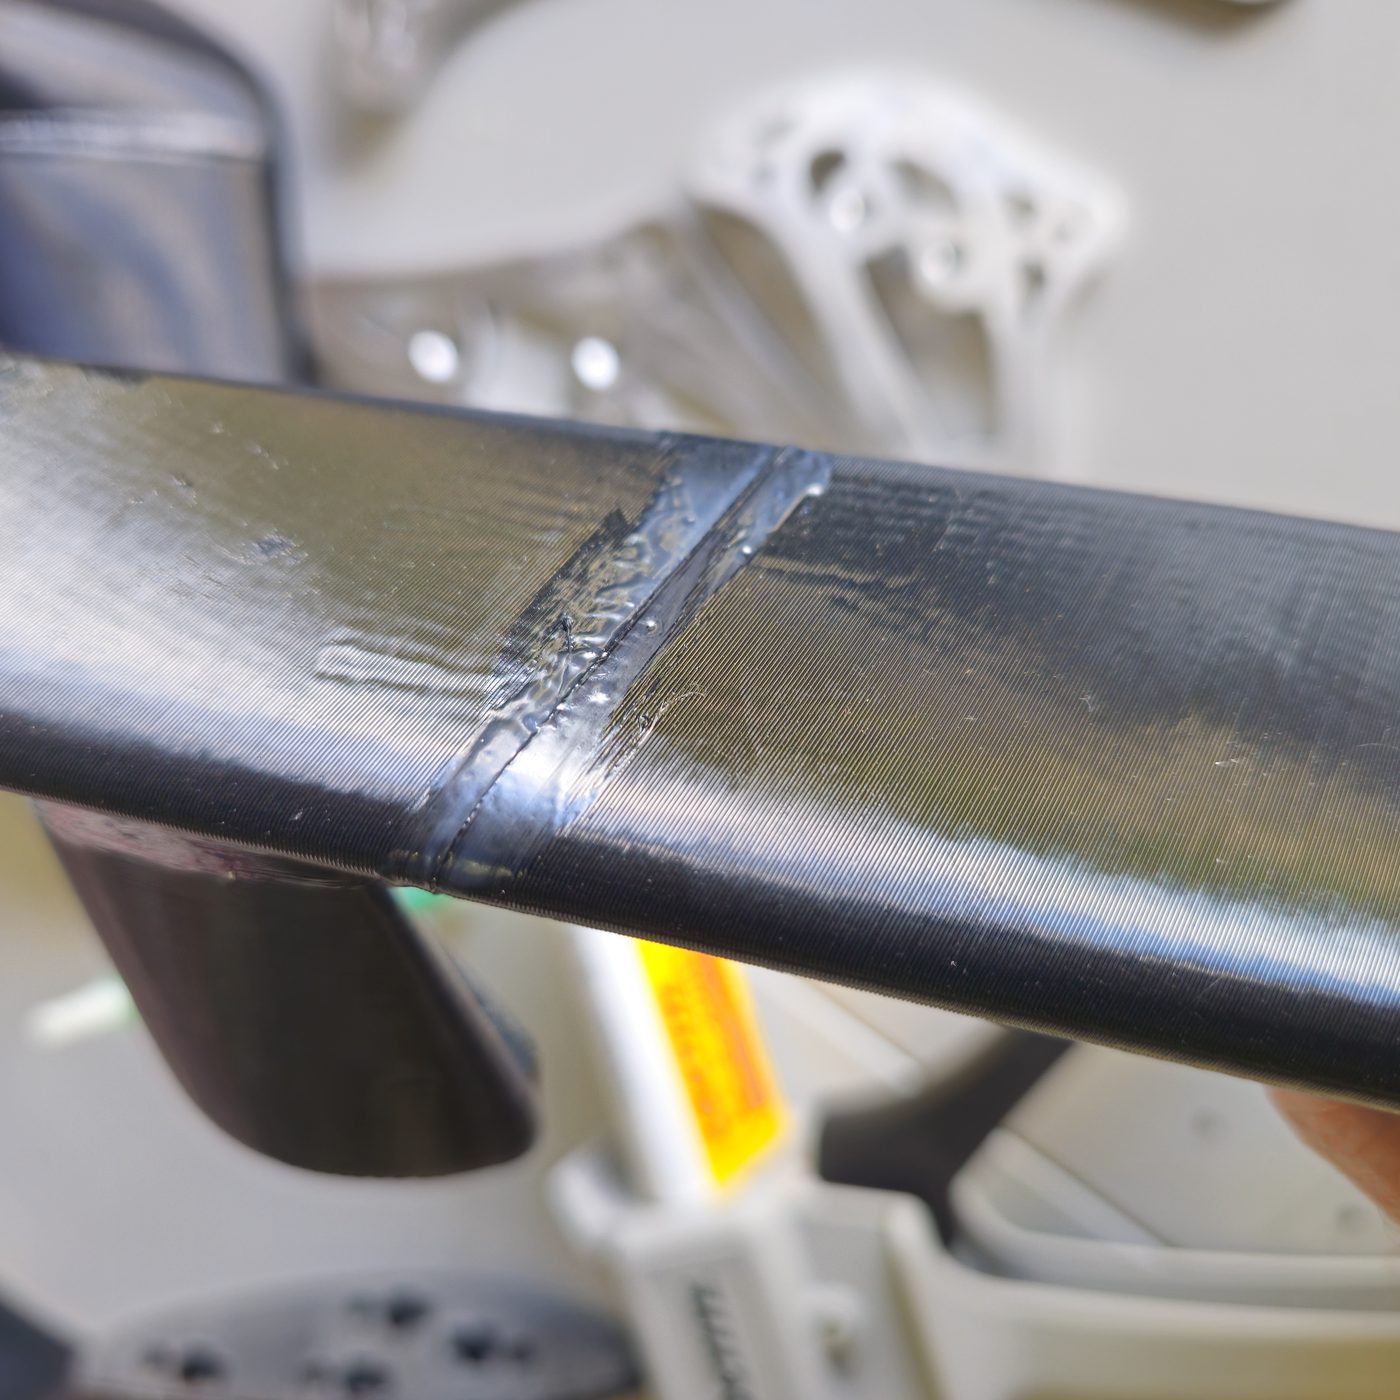
The joints are glued along the flat faces, with hexagonal dowels in a range of sizes pressing into their mating components to line everything up. We chose EA E-20HP here not for any particular reason though, it just what we have open already and its a great product for this kind of bonding job, we also don't need a pretty clear bondline which makes life easier. You can read more about the three different Loctite adhesives in our adhesive guide ↗.
Where we're at now
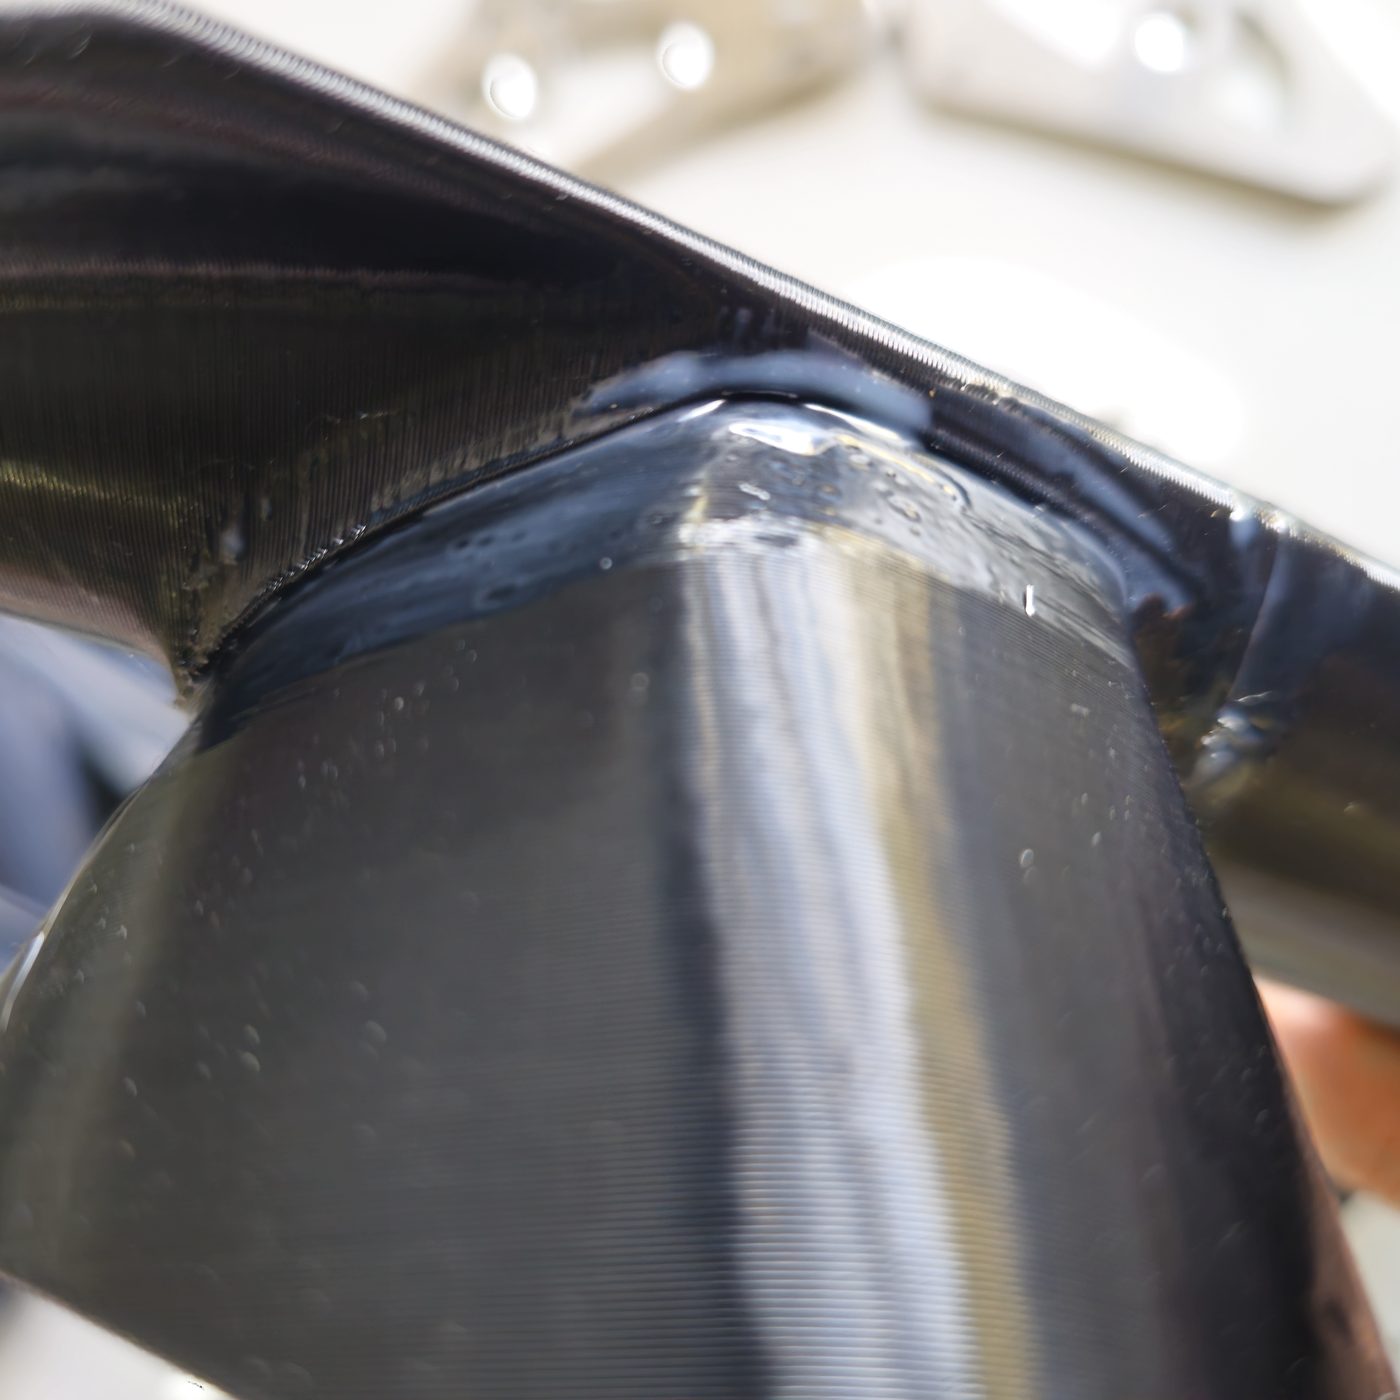
Glued, and setting. Once the epoxy has fully cured, the aluminium plates take their final contour from the press tools, the holes get chamfered, hardware goes in, and the parts head off to Gateway Panel & Paint for finishing.
Frequently asked questions
Common questions about gluing the winglets.
The dowels have one job. They align the printed sections so the winglet keeps its intended shape during assembly, and they carry shear loads through the joint. The epoxy bonds the flat faces and locks everything together permanently.
No. Excess epoxy is cleaned off before cure finishes, the joints are sanded smooth during post processing, and the paint shop handles the final finish.
Loctite EA E-20HP, a two-component toughened structural epoxy applied with a cartridge gun. It gives us high strength and peel resistance on the printed sections and the aluminium flanges. We compare it against our other workshop adhesives in our adhesive guide ↗.